Custom Scripts (Linux only)
In Cloudhouse Guardian (Guardian), you can use custom scripts to automate specific tasks or configurations on your Linux nodes. That means you can add queries to run additional commands that are not provided on a default node scan in Guardian. The following topic describes how you can achieve this via the Scan Options page and directly on the target node.
Note: For comparable Windows functionality, see PowerShell Queries (Windows only).
Add Custom Scripts via Scan Options
On the Scan Options page in the Monitored tab (
Note: Additionally, you can add custom scripts queries accessing the full set of scan options from within the node group's settings. For more information, see Edit Node Group.
Tip: For more information on the other scan options available to configure, see Scan Options.
To add a custom script to a node group's scan options, complete the following steps:
-
In the Guardian web application, navigate to the Monitored tab. By default, all currently monitored nodes are displayed within the 'All Nodes' node group.
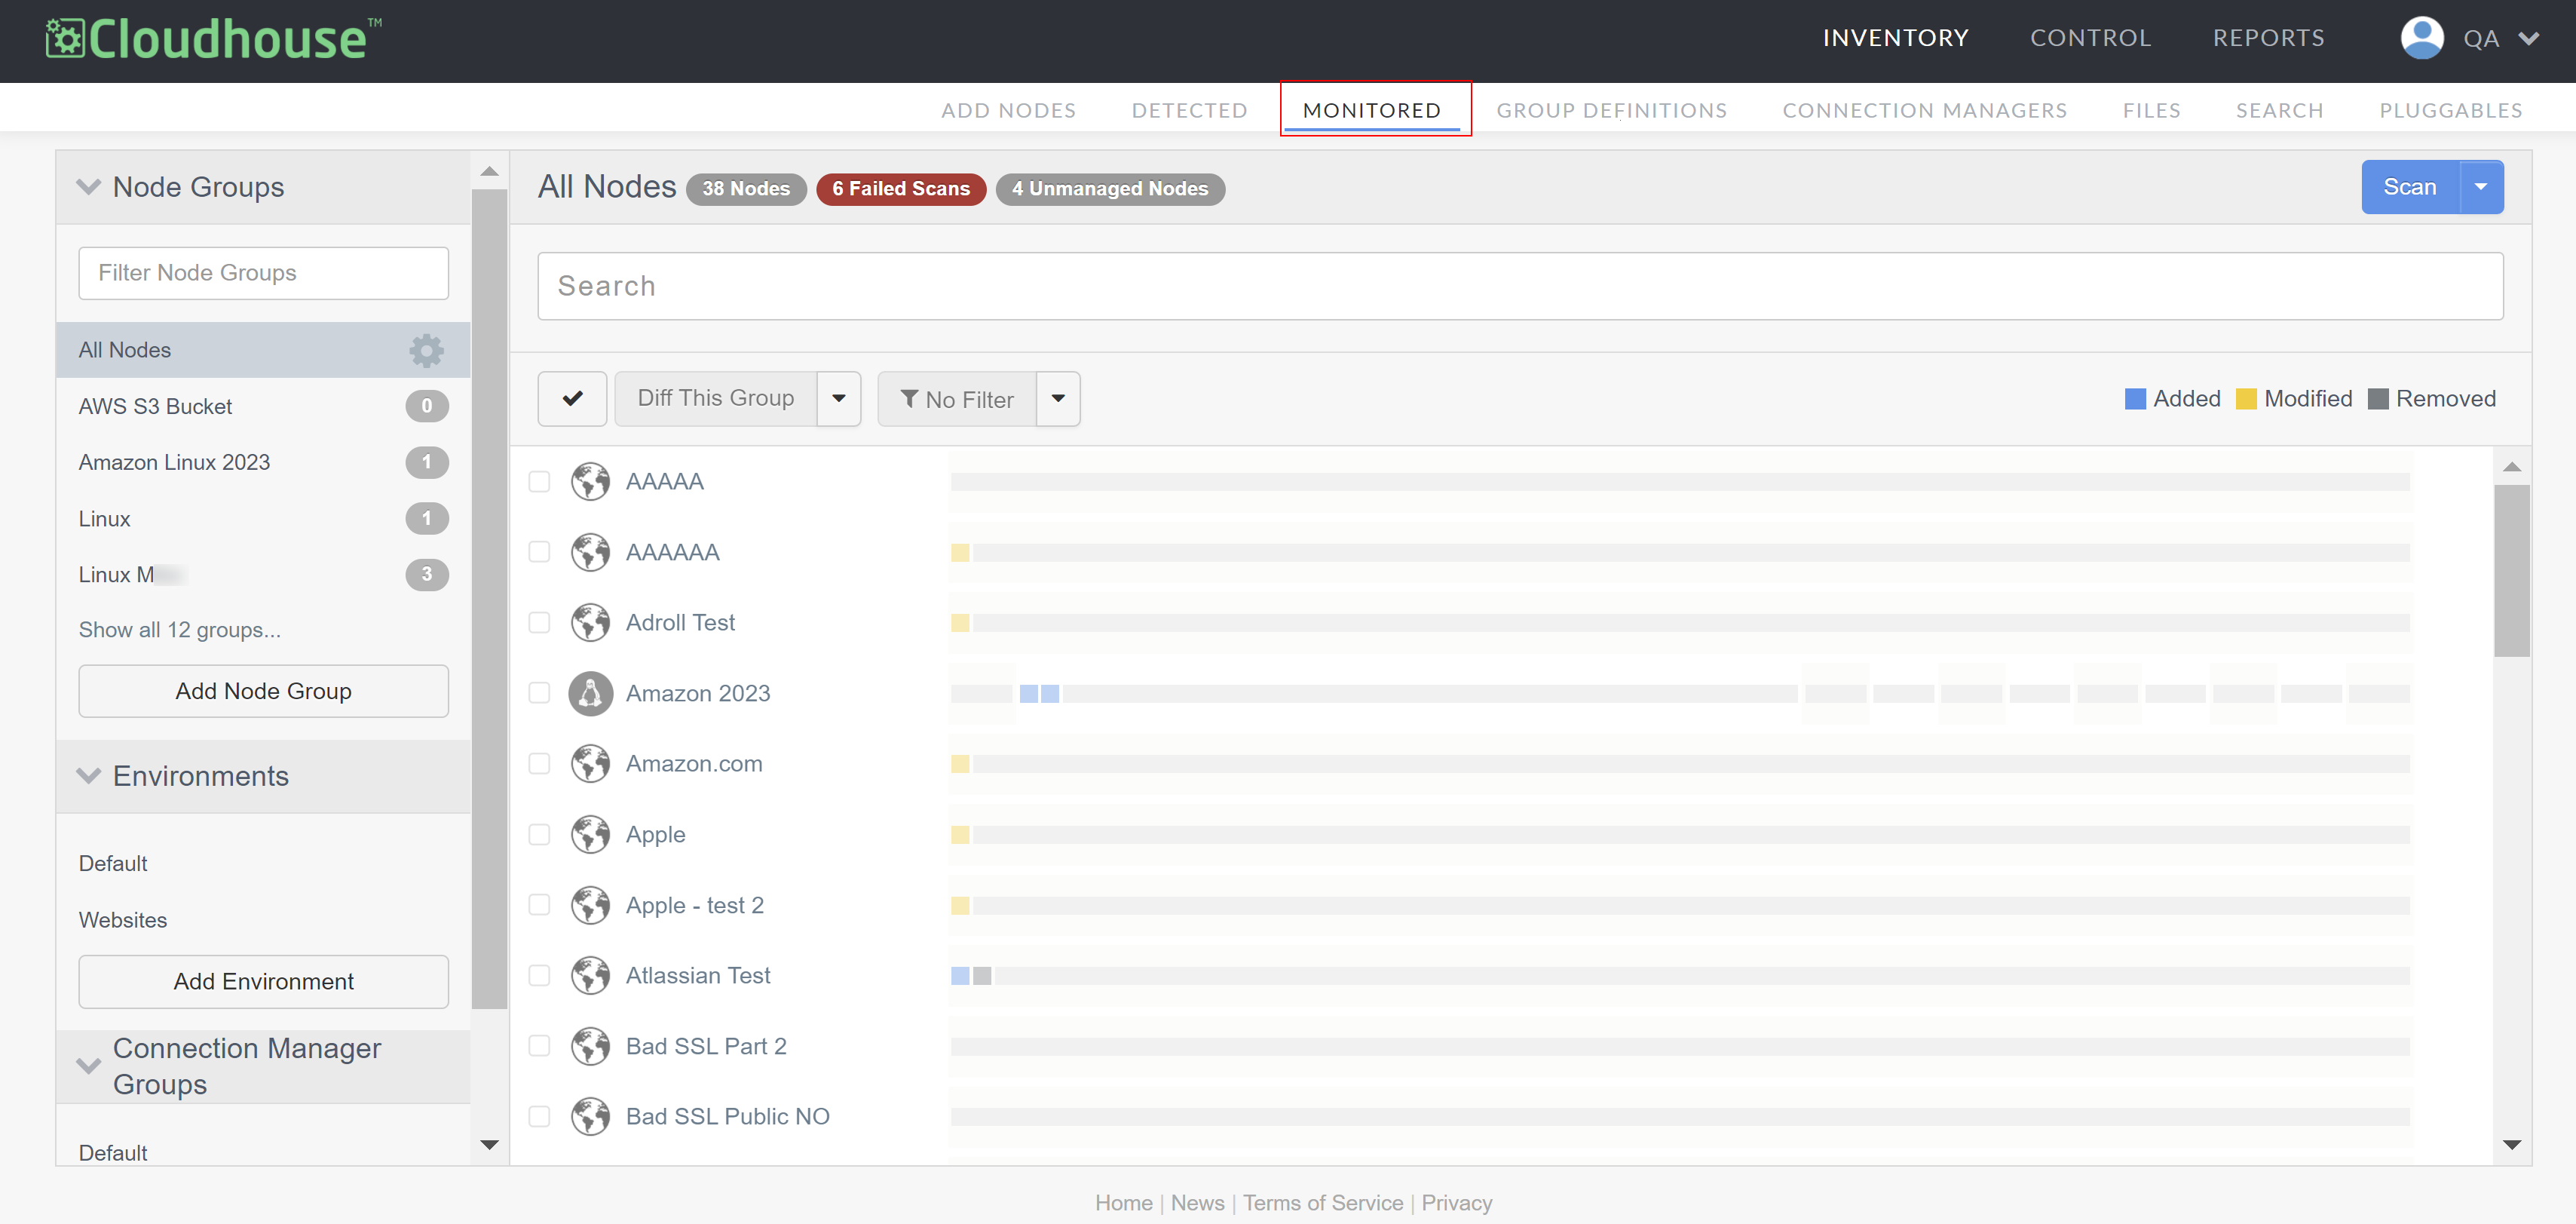
Note: If you want to display the list of monitored nodes contained within a different node group, select a node group from the Node Groups drop-down menu.

-
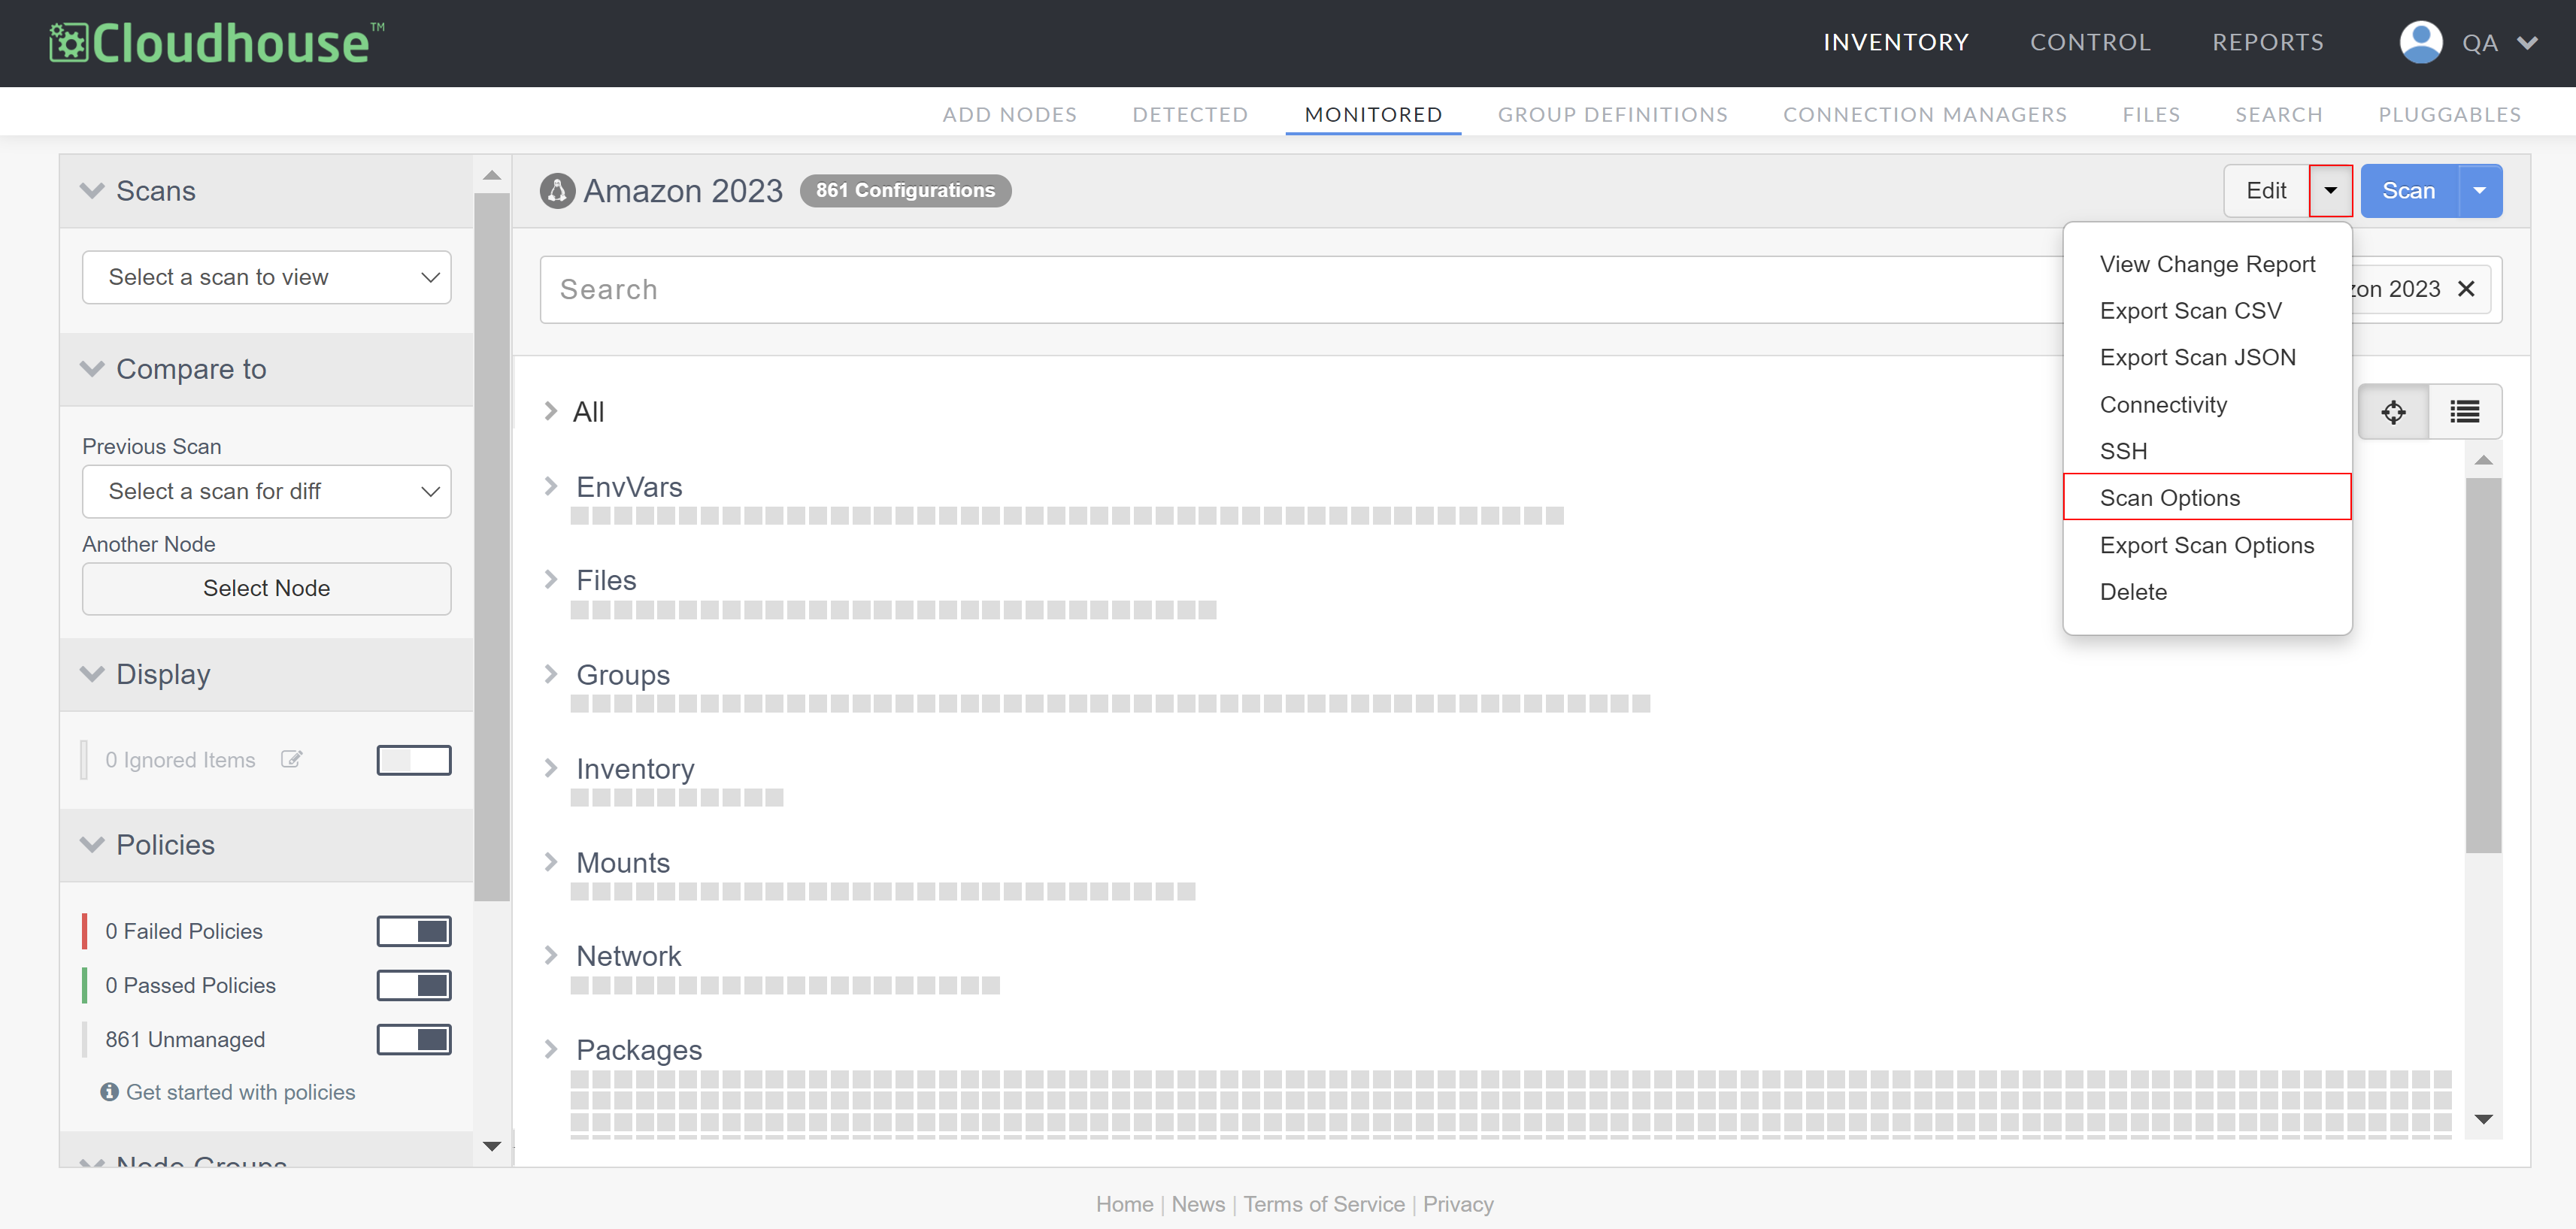
Select the node you want to customize from the list of monitored nodes. The node scan results page is displayed.
-
Click the Edit drop-down and select Scan Options. The Scan Options page is displayed.
-
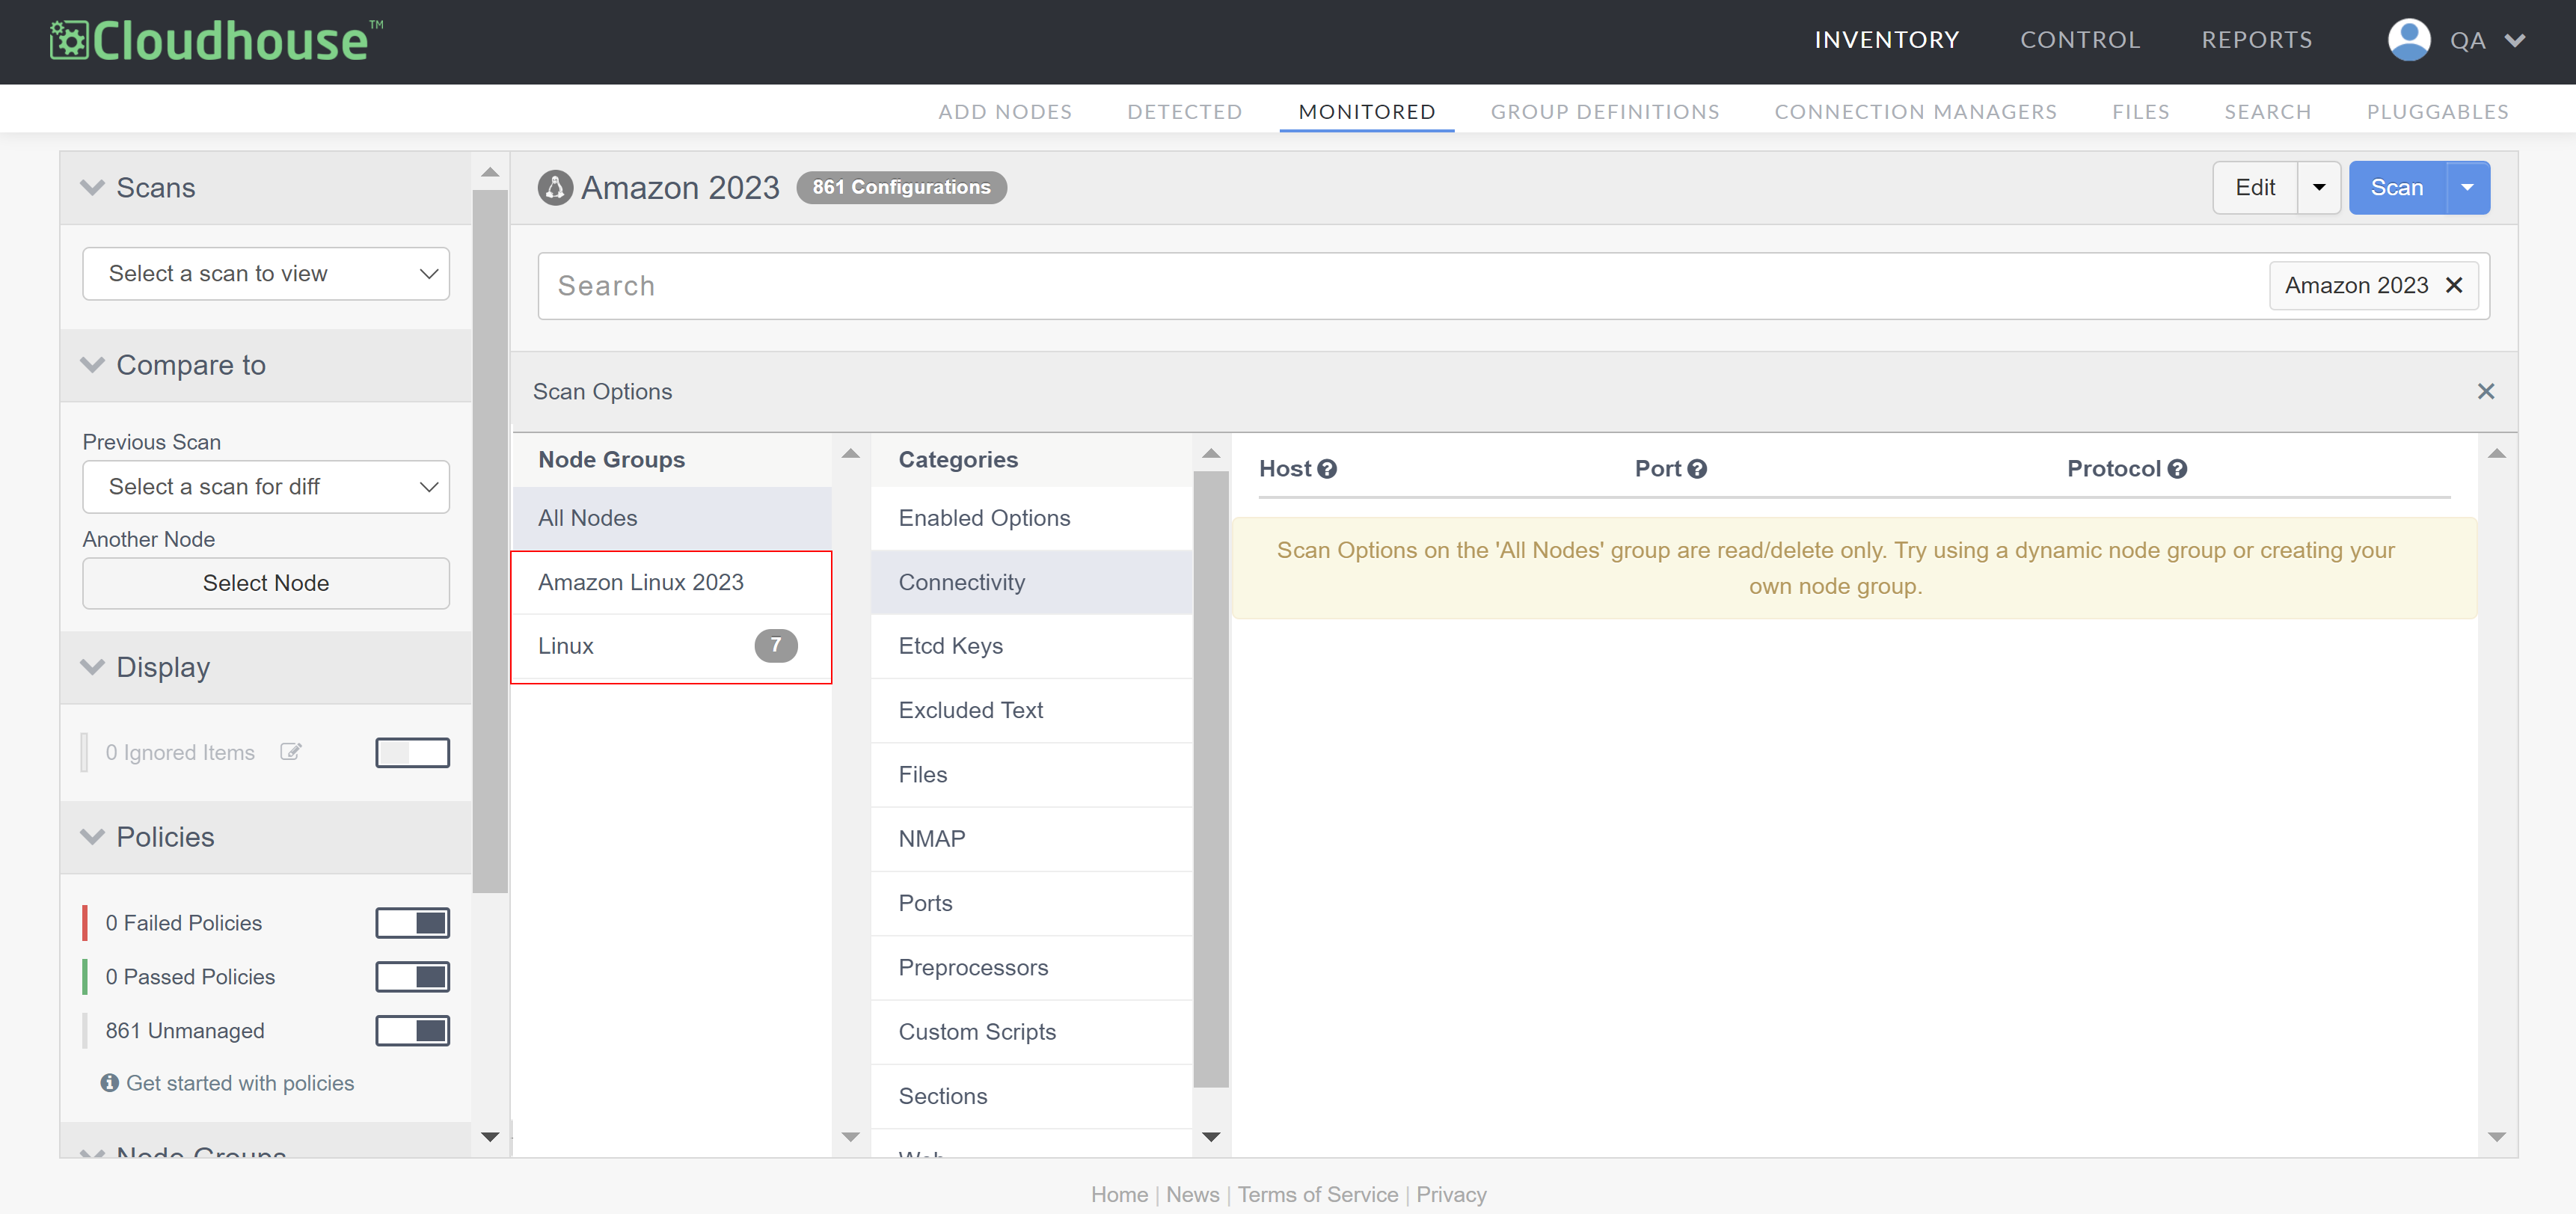
Select the node group you want to add a custom script to from the list of Node Groups.
Warning: By default, the 'All Nodes' node group is displayed. However, scan options on the 'All Nodes' node group are not available to edit. Select a different node group to edit the corresponding scan options.
-
Select Custom Scripts from the list of Categories. The following options are displayed:
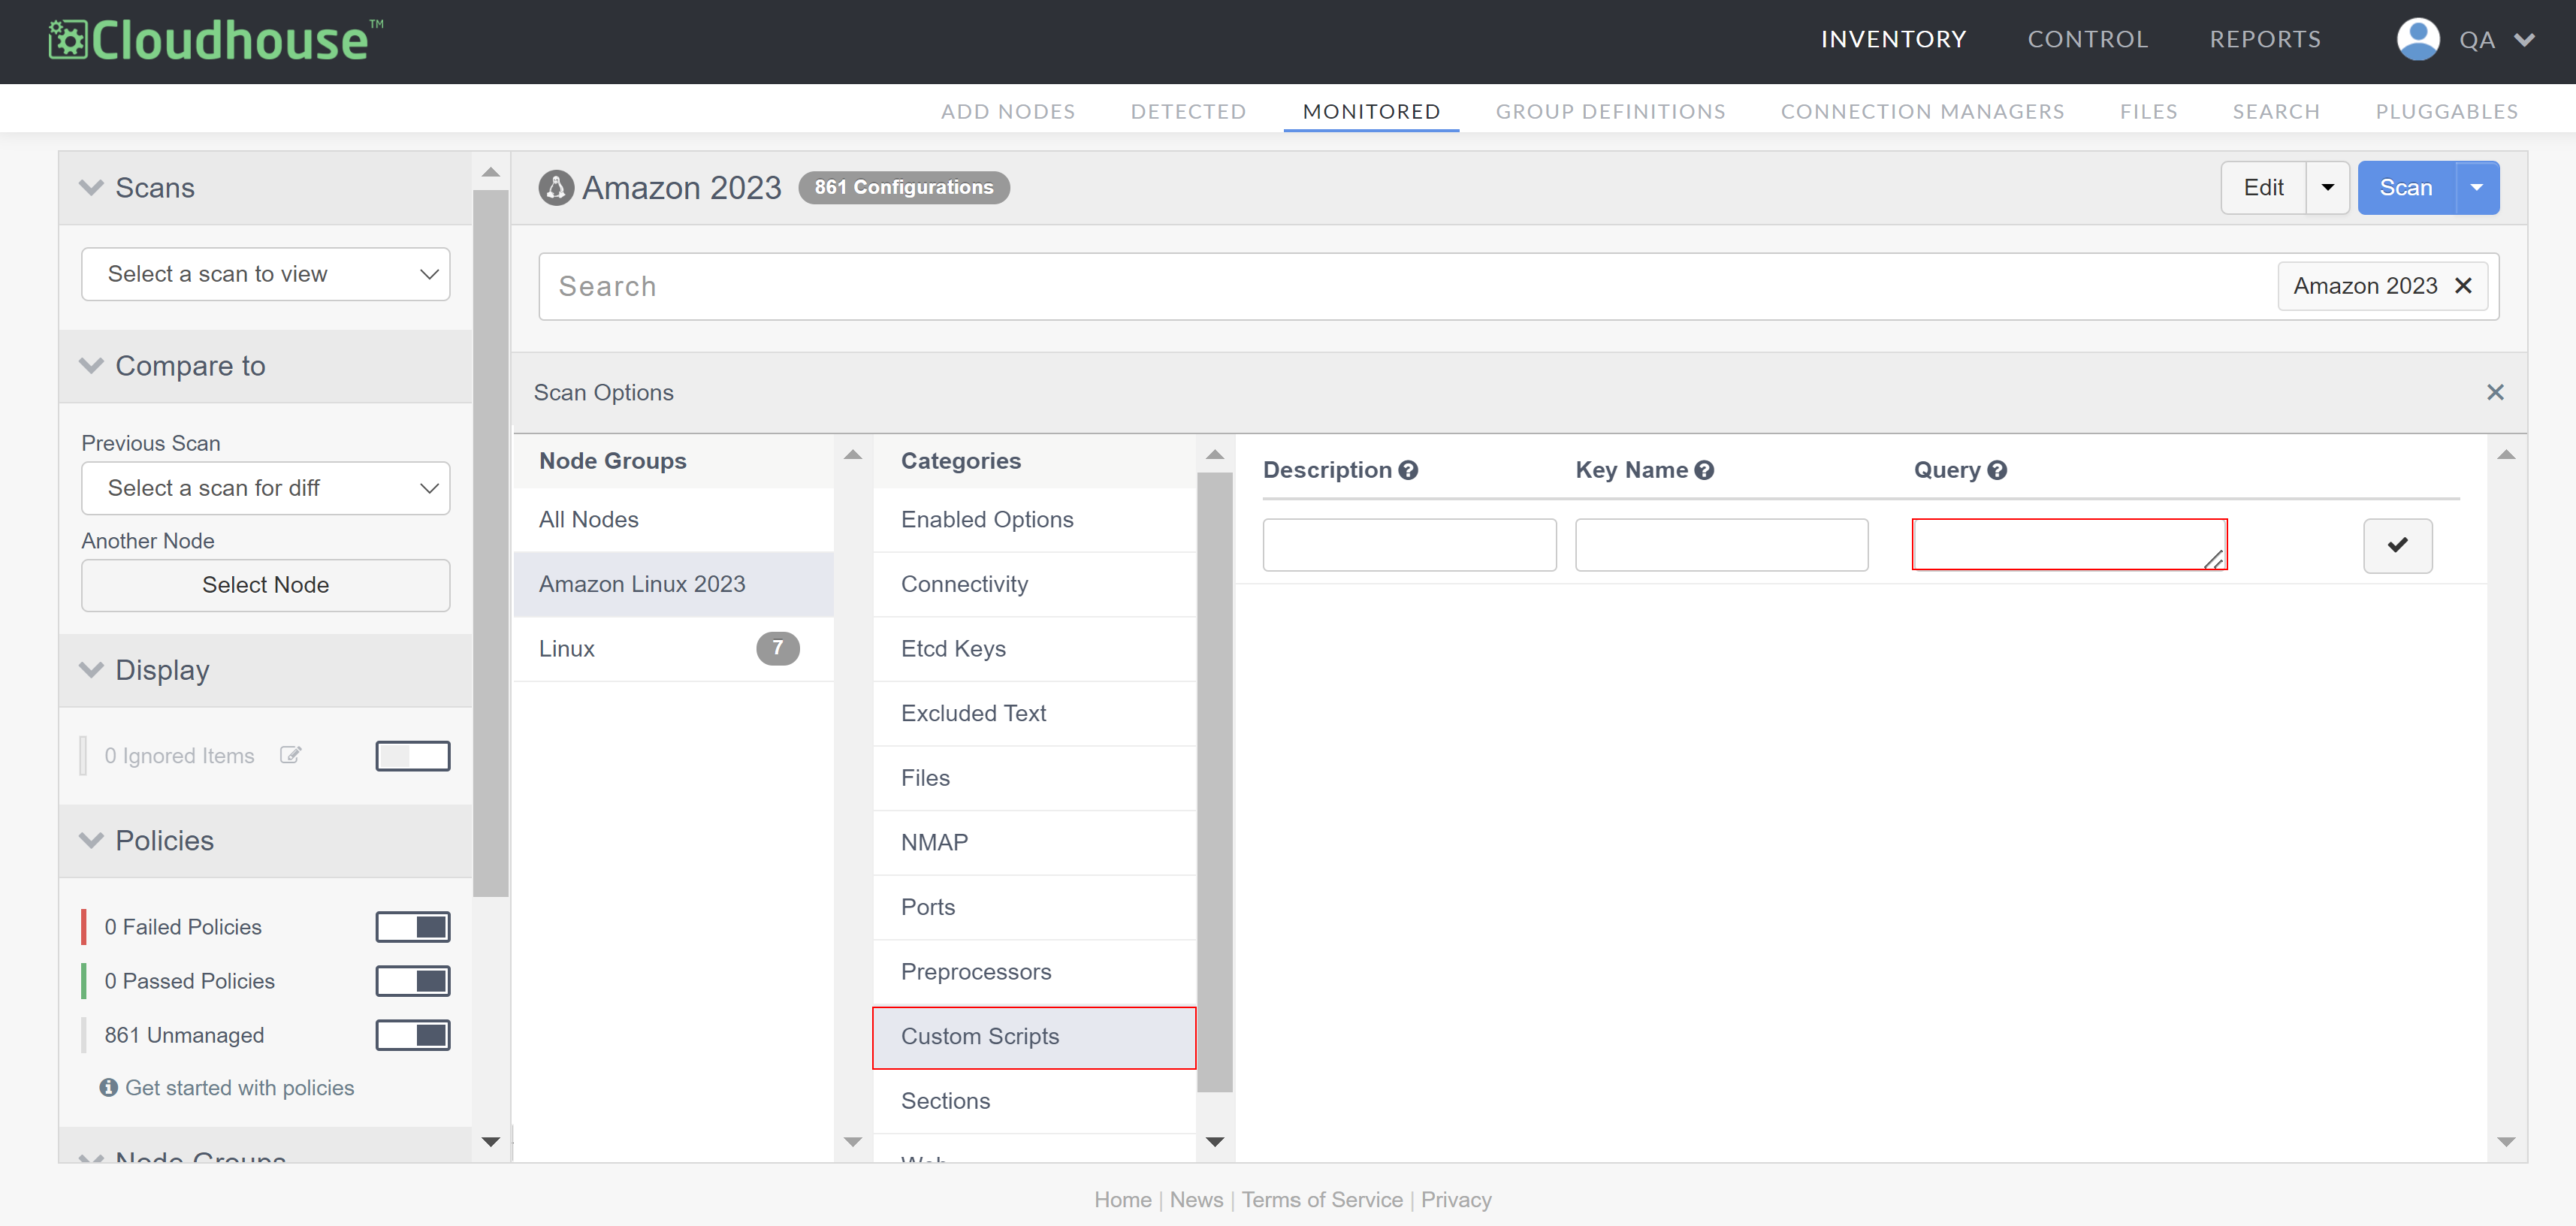
Field Description Description The display name for the custom scan results. Key Name The key name specifies which field uniquely identifies the row. This is required in scenarios where multiple results are returned by the query. Query By default, queries are executed using bash, but it is recommended to specify the shell explicitly at the top of your script.
For example, the following queries can be used to customize scripts:
/usr/bin/find /bin \! -type d -a \! -type s | sort | xargs md5sum -The above query verifies the integrity of files by examining their content and comparing it against a baseline or checksum. This process involves scanning files recursively, which means it will not only try to match files in the directory, but those within nested directories as well.
Copy/usr/bin/find /bin \! -type d -a \! -type s|sort|xargs stat -c '%n - %a'The above query lists the contents of a given directory structure, including all subdirectories and their contents, and shows the respective permissions.
-
Once complete, click the Check button (
 ) to apply the custom script(s) to your node group's scan options. Repeat as required.
Once you add or edit an item from the Categories section, the scan options are saved and applied to the selected node group the next time the nodes are scanned. Custom script results are then displayed alongside the default node scan data as flat files under the scripts section of the node scan results page. For more information, see Node Scan Results.
Add Custom Scripts via the Target Node
This method allows scans run by an Agent or Linux Connection Manager to perform specific tasks or gather specific data by adding custom scripts directly to target nodes. Once a scans is complete, the results are displayed in the scan results page in your Guardian instance. You can choose to organize the configuration according to your preferences, but below you will find a few examples to help.
Warning: The following process assumes that you have a Guardian user account with the permissions required to perform node scans.
To add a custom script to a target node, complete the following steps:
-
On the target node, create a folder called 'scan.d'. Then create another folder within 'scan.d' for each custom script you would like to add. The names you give to these folders will serve as the labels displayed in Guardian. For example, a folder named 'ci-category1' will appear under the label 'ci-category1' in Guardian. You can name these folders anything you like. For example:
Copymkdir -p /etc/guardian/scan.d -
Place your custom script in the appropriate folders. For example:
Copyubuntu@hostname:/etc/scriptrock/scan.d/ci-category1$ ls -lh
-rw-r--r-- 1 root root 141 Apr 6 22:44 script.py -
Use the following command to give the script execute permissions so that the
guardrailuser can run the script.Copychmod +x script.py
You can add custom scripts in any language, but ensure that you include the relevant shebang at the top of the script.
Script Name Labeling
To have the configuration item listed under the name of your script, use the following python script (script.py) as a template:
#!/usr/bin/python

import json

print json.dumps({"ci-attribute-name1": "ci-attribute-value1", "ci-attribute-name2": "ci-attribute-value2"})
Warning: Your script must output using JSON, adhering to the above structure.
Key / Value Labeling
To have each configuration item listed individually, use the following script.py as a template:
#!/usr/bin/python

import json

print json.dumps({"ci-category-name1": {"ci-attribute-name1": "ci-attribute-value1"}, "ci-category-name2": {"ci-attribute-name2": "ci-attribute-value2"}})
Note: In the example above, the 'ci-category2' folder has been created as a separated configuration item.
Warning: Your script must output using JSON, adhering to the above structure.